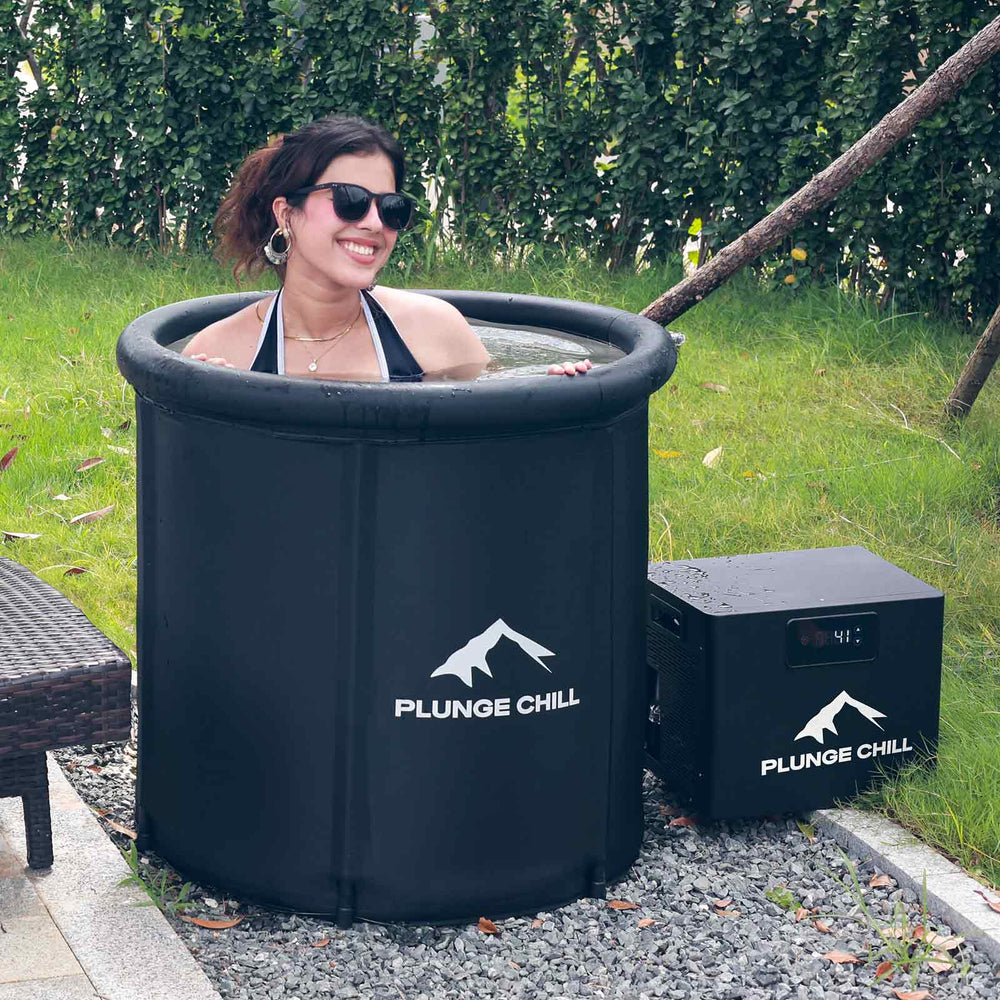
Once autumn rolls in and winter really hits, running an outdoor cold plunge turns into a massive chore. Scraping morning frost off the deck, battling freezing wind, and constantly stressing over whether your plumbing lines are about to burst takes all the fun out of a daily dip.
Dragging your setup inside—into the garage, the basement, or your home gym—is hands-down the best move to keep your recovery streak alive all winter long. That said, setting up hundreds of pounds of water indoors isn't something you want to eyeball. You’ve got to think through floor weight limits, chiller noise, airflow, electrical safety, and how to winterize your gear properly so freezing temps don't wreck your compressor.
Here’s your no-nonsense guide to getting your indoor cold plunge dialed in safely this season.
Table of Contents ▲
- Garage vs. Basement: Where Should It Go?
- Floor Load Math: Will Your Floor Actually Hold It?
- Indoor Chiller Setup: Clearance & Picking the Right Size
- The Winter Freeze Protocol: When to Drain & Shut Down
- Draining and Refilling (No Floor Drain? No Problem)
- Keeping Water Crystal Clear in an Enclosed Room
- Essential Electrical & Safety Rules
- Your Fall Indoor Setup Checklist
- Frequently Asked Questions
Garage vs. Basement: Where Should It Go?
Before you drain a single drop of water, take a good look at your space. You're balancing three things: floor strength, easy drainage, and how brutally cold that room gets in January.
| Consideration | Garage Setup | Basement Setup | Spare Room / Home Gym |
|---|---|---|---|
| Foundation | Poured concrete slab No worries | Poured concrete slab Rock solid | Wood subfloor Proceed with extreme caution |
| Draining | Easy roll-out to the driveway | Sump pit or utility sink | Floor drain or bathtub |
| Airflow | Great Pop the bay door | Fair Grab a simple floor fan | Standard house HVAC |
| Freeze Risk | High in unheated garages | Basically zero | None Climate-controlled |
The Garage: Tough & Convenient
For most people, cold plunge garage setup is the obvious winner. Poured concrete can handle all the weight you throw at it, stray splashes won’t ruin finished drywall, and cracking the big door open clears out warm exhaust air in seconds.
The Catch: If your garage is unheated and detached, winter temperatures can drop below freezing fast. You can't just set it and forget it—you have to watch the thermometer to protect your chiller’s titanium core.
The Basement: Stable & Energy-Efficient
Basements naturally sit at a comfortable 55°F to 65°F (13°C–18°C) year-round. Because the air never gets scorching hot or bone-chillingly cold, your chiller doesn’t have to work nearly as hard, saving you cash on the electric bill. Just be smart about air circulation: always keep your insulated cover strapped on between dips so you don't turn your basement into a humid cave.

Floor Load Math: Will Your Floor Actually Hold It?
Water is deceptively heavy—roughly 8.34 lbs per gallon. Calculate your operating footprint before you start filling, especially if you aren't sitting on bare concrete:
Total Weight Formula: (Gallons of Water × 8.34 lbs) + Tub Dry Weight + Chiller Weight + User Weight
The Golden Rule of Placement
Ground-Floor Concrete (Garage / Basement): You're totally fine. Slabs are built to park multi-ton trucks and handle 3,000+ PSI without blinking.
Raised Wood Subfloors (Second Floor / Bedrooms): Don't risk it. Standard residential building codes only account for 30–40 lbs per square foot of live load. Dropping a 1,200-pound water tank onto standard joists without an engineer signing off is asking for cracked drywall and sagging floors.

Cold Plunge Chiller + Pro Tub
Indoor Chiller Setup: Clearance & Picking the Right Size
Outside, your chiller can dump heat into open air all day. Indoors, it needs room to breathe. Give it at least 12 to 18 inches of breathing room on all sides. Shoving it flush against drywall traps the hot exhaust, forcing the compressor to cook itself in its own heat.

Airflow Requirements:
• Wall to Chiller: Minimum 12 to 18 inches clearance
• Chiller Exhaust to Plunge Tub: Minimum 12 inches clearance
Which Cold Plunge Chiller Fits Your Indoor Vibe?

The Winter Freeze Protocol: When to Drain & Shut Down
If your setup lives in an unheated garage, detached shop, or three-season porch, pay attention here:
The Hard Rule: Whenever ambient room temperatures hit 32°F (0°C) or lower, shut the chiller off, unplug it, and drain every drop of water out of the unit and hoses.
Why You Can’t Skip This: Water expands by about 9% when it turns to ice. If standing water freezes solid inside your chiller’s titanium heat exchanger or plumbing manifolds, it will burst internal lines and ruin your compressor. That's a costly repair that warranty won't cover.
Quick Winterizing Steps:
Draining and Refilling (No Floor Drain? No Problem)
Good news: because your tub is indoors away from wind, falling leaves, and dirt, your water stays clean way longer. With proper filtration, you only need a full water refresh every 6 to 8 weeks.
1. Pumping It Out: Every Plunge Chill kit comes with a submersible pump. Just drop it into the bottom of your tub, run the discharge hose out the garage door or into a basement utility sink/sump pit, and let it rip.
2. Refilling Inside: Grab an inexpensive brass faucet adapter and hook a clean RV/drinking-water-safe hose directly to your laundry bib or utility sink faucet.
3. Protect Your Floor: Lay down thick 3/4-inch rubber horse stall mats or gym tiles under everything. It gives you a slip-free place to step out, catches stray drips, and dampens mechanical hum against the concrete.

1HP Cold Plunge Chiller + Tub(Plus)
Keeping Water Crystal Clear in an Enclosed Room
Without open airflow and sunlight, you need to keep a close eye on water hygiene so you don't end up with cloudy water or musty smells.
Know Your Model’s Filter Routine
• Plunge Chill 1/3 HP (Wash-and-Reuse / Zero Consumables): Runs a permanent stainless steel mesh screen. No cartridges to buy—ever. Just twist off the filter cap every 1–2 weeks, rinse the screen clean under the sink, and screw it back on.
• Plunge Chill 1 HP (20-Micron Pleated Cartridge): Uses a fine 20-micron water filtration to catch microscopic gunk. Pull it out and give it a solid rinse every 1–2 weeks, then pop in a fresh replacement cartridge every 4–6 weeks to keep water moving freely.
Daily Hygiene & Low-Fume Sanitizing
Practicing the simple "30-Second Shower" rule by rinsing off lotions, deodorants, and sweat before jumping in cuts organic buildup by half. Indoors, avoid harsh chlorine smells that irritate your lungs in enclosed rooms; instead, keep water sparkling clear and odor-free by adding a splash of 3% food-grade hydrogen peroxide once a week or using a mild non-chlorine oxidizer shock.

Essential Electrical & Safety Rules
- GFCI is a Must: Always plug into a Ground Fault Circuit Interrupter outlet. If your older garage doesn't have one, grab an inline, UL-rated portable GFCI adapter cord before plugging in.
- Go Straight to the Wall: Never use thin, light-duty household extension cords. They drop voltage and cause compressors to overheat. Plug straight into a dedicated 15A or 20A wall socket.
- Always Form a Drip Loop: Make sure your power cord dips down in a "U" shape below the wall outlet before running back up into the plug. If water drips down the cord, it falls safely onto the floor instead of straight into live voltage.
Your Fall Indoor Setup Checklist
Moving your cold plunge indoors takes the hassle out of cold-weather recovery, turning a chilly morning chore into your favorite part of the day. Check out our complete lineup of chillers and all-in-one tubs to build your ultimate indoor recovery setup this winter.
Frequently Asked Questions
Q1: Will an indoor ice bath cause mold or crazy humidity in my garage or basement?
Nope—as long as you keep the lid on. Unlike steaming hot tubs that pump gallons of moisture into the air, cold water doesn't evaporate fast. Moisture only becomes a headache if you leave the tub uncovered or let puddles sit on bare floorboards. Keep your insulated lid strapped down between sessions, set up a simple box fan or dehumidifier in enclosed basements, and you won't see a speck of mold.
Q2: Can I hide my chiller inside a storage closet or cabinet?
Definitely not. Chillers are refrigerators in reverse: they pull heat out of your bath and dump it out the sides. If you trap that heat inside an unventilated cabinet, the ambient temperature skyrockets, the machine suffocates, and the compressor will trip its thermal safety shutoff. Always give it 12 to 18 inches of clear, unobstructed space.
Q3: How much will running a chiller indoors bump up my electric bill?
Very little—especially in winter when ambient indoor air is already cool. The 600W 1/3 HP unit runs on about $0.80 to $1.50 a day (around $25 to $45 a month), which is a fraction of what you'd spend buying bags of gas-station ice. The 1 HP model pulls more watts when it's actively running, but because it cools so fast, it spends most of the day cycled off.
Q4: Do I have to buy replacement filters for both chillers?
No, they use completely different setups:
• 1/3 HP Unit: Uses a permanent stainless steel mesh screen. You never have to buy replacements—just give it a quick rinse under running water every week or two.
• 1 HP Unit: Uses a replaceable 20-micron pleated filter cartridge to keep water pristine. Rinse it weekly, and swap in a fresh cartridge every month or two.
Q5: What happens if my garage freezes unexpectedly?
If freezing weather sneaks up on you, take action immediately: power the machine off, unplug it, pull the hoses, and drain every bit of water from the chiller’s internal loop. Water expands with incredible force when it freezes, and it will easily rupture internal titanium coils. Taking five minutes to drain the system saves you a hefty replacement bill.