
Table of Contents
- Why Bother with Maintenance? Let's Get Real.
- Testing Isn't Rocket Science
- The Most Important Lesson: Your Setup Dictates Your Strategy
- How Often You Plunge Matters… A Lot
- A Quick Word on Tub Materials
- Filtration: Your Unsung Hero
- Let's Talk Chemicals: My No-Nonsense Guide
- My Single Biggest Breakthrough: The Consistency Principle
- When Things Go Wrong: My Panic Button Guide
- Build Your Perfect Plunge System Now
When I first brought home my cold plunge, I thought that I could just change the water every so often, and everything would be fine. But how to judge whether the water is clean or not? It wasn't just the look of it; it was the feeling. That subtle, greasy film that screams "something's not right." And then I realized that the equipment needs a serious maintenance.
After lots of practice and making plenty of mistakes, I finally figured out what works. And in this guide I want to share what I learned so you can avoid the problems I ran into, and have a better experience every time with your plunge.
Why Bother with Maintenance? Let's Get Real.
When you boil it all down, there are three non-negotiable reasons to care about this stuff:
- Your Health: This is the big one. Your plunge can quickly become a petri dish for bacteria and other unwelcome guests. Cloudy water isn't just ugly; it's a potential health risk.
- The Experience: Think about the difference between diving into a crystal-clear mountain lake versus wading into a murky, smelly pond. That's the difference we're talking about. A well-maintained plunge offers a crisp, clean, almost spiritual experience. A neglected one just feels… gross. An optimal plunge time is also part of that perfect experience.
- Your Wallet: This is the kicker. A little bit of consistent maintenance costs pennies compared to repairing or replacing a burnt-out chiller pump or a damaged tub. An ounce of prevention is truly worth a pound of cure (and hundreds, if not thousands, of dollars).
First Things First: What's the Goal?
Before you start tinkering, you need to know what you're aiming for.
After all my experimenting, I've landed on what I call my "Gold Standard" Checklist. These are the markers that tell me my water is perfect:

- pH Level: The Sweet Spot is 7.2−7.6. In this narrow range, the water feels best on your skin, and more importantly, it allows your sanitizer (like chlorine or peroxide) to do its job effectively.
- Chlorine Content: 1−3 ppm (parts per million). This is just enough to kill any nasty bugs without being so strong that it irritates your skin or eyes.
- Hydrogen Peroxide: 30−50 ppm. If you opt for a non-chlorine route, this is your target. It's a fantastic, gentler alternative.
- Water Appearance: Crystal clear, no smell, no slime. This is the simple, non-negotiable sensory check. If it looks or smells off, it is.
Testing Isn't Rocket Science
You can start testing the water with the standards clear, and it's not as difficult as you might think:

Method 1: Test Strips (My Daily Driver).
This is my go-to for its sheer speed and simplicity.
- Dip a strip into the water for a second or two.
- Pull it out, hold it level, and wait about 15 seconds (don't shake it!).
- Compare the colored pads on the strip to the chart on the bottle.
The whole process is done in under a minute. I've made it a part of my Sunday morning routine, and it's as automatic as making coffee.
Method 2: Digital Testers (For the Perfectionist).
If you're someone who loves precision, digital pH and chlorine pens are a great investment.
You just stick the probe in the water, and you get an exact digital reading. They're more accurate, but test strips are more than good enough for regular maintenance.
The Most Important Lesson: Your Setup Dictates Your Strategy
If you take only one thing away from this guide, let it be this: Your equipment configuration determines your maintenance plan. I can't stress this enough. I spent my early days trying to copy what others were doing online, only to get terrible results because my setup was different.
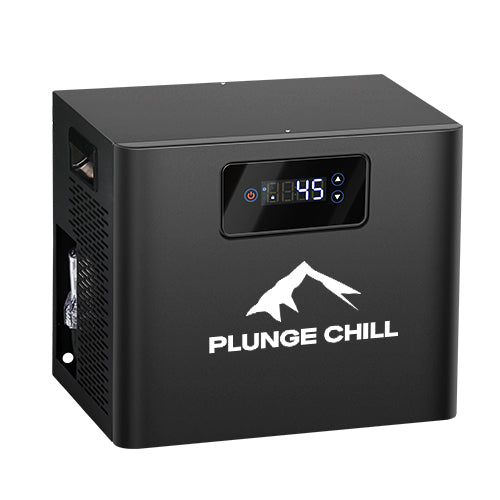
Configuration A: The Dream Team (Chiller + Filtration System)
This is my current setup, and honestly, it's the path I'd recommend to anyone who is serious about cold plunging. It's the most hassle-free and effective way to keep your water pristine.
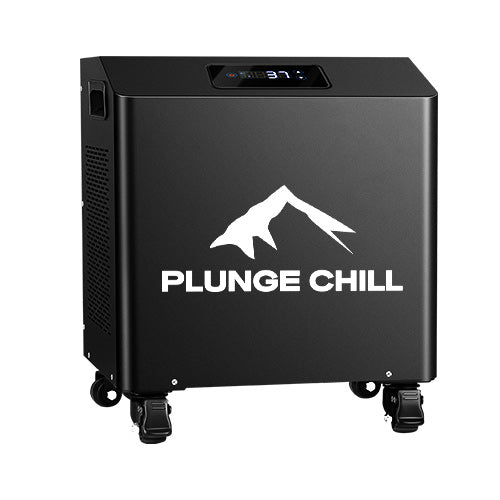
For example, some chillers (like Plunge Chill's 1/3 HP model) have a basic built-in mesh filter, while more robust systems (like Plunge Chill's 1HP model) use an external cartridge filter. This combo does the heavy lifting for you, dramatically cutting down your manual workload.
Here's what my rhythm looks like with this setup:
Daily (Seriously, this takes 2 minutes):
- Quick rinse before plunging. This is HUGE. You wash off sweat, body oils, and lotions that would otherwise end up in your water. This simple step removes 80% of the contaminants you introduce.
- Cover the tub immediately after use. A good cover keeps debris out and, just as importantly, insulates the tub, saving you money on electricity.
- Skim the surface. Use a little net to grab any stray hairs or leaves.
Every Sunday Morning (My 15-minute ritual):
- I grab my coffee and head to the plunge. First, I do a quick water quality test with a strip.
- Based on the reading, I'll add a tiny bit of sanitizer or pH adjuster if needed.
- I pop out the skimmer basket (the little basket that catches bigger debris before it hits the filter) and give it a quick rinse. That's it.
First Weekend of the Month (My 30-minute "Deep Clean"):
- I turn off the system and pull out the main filter cartridge.
- I give it a thorough rinse with a hose, then let it soak in a specialized filter cleaning solution for about 15 minutes. This breaks down all the oils and gunk.
- After another good rinse, it's ready to go back in. I also use this time to give the filter a once-over and see if it's nearing the end of its life.
Water Change Frequency: With this system and a standard filter, I change the water every 6-8 weeks. Since I upgraded to a 1-micron filter, I can easily go 10-12 weeks.

Configuration B: The Manual Approach (Tub Only + Ice)
A buddy of mine uses this setup. It's great for getting started or for very infrequent use, but let's be blunt: the maintenance is a chore.
What you must do after every single use:
- Drain the water. Immediately.
- Scrub the interior walls. Use a soft sponge and a mild, non-abrasive cleaner.
- Rinse everything thoroughly.
- Dry it completely. I mean bone-dry. Tip it upside down to air out.
- Store it only once it's completely dry.
Why the hassle? Without a filter and sanitizer constantly circulating, the water becomes a stagnant pool. Body oils, skin cells, and bacteria have nowhere to go. The water will go bad in a couple of days, guaranteed.
How Often You Plunge Matters… A Lot
This was another "aha!" moment for me. Your usage frequency is a massive factor in your maintenance schedule.
For "Heavy Users" like me (daily or every other day):
- With a filter system: You have to be disciplined. Stick to the weekly and monthly schedule I outlined above. I've found I get more accurate results by testing every 3-4 days instead of just weekly. Also, your filter cartridge is working overtime. Expect to replace it every 1.5 to 2 months.
- Without a filter system: My honest advice? Upgrade your equipment. The sheer exhaustion of draining and scrubbing a tub every single day will burn you out and make you resent your plunge.
For "Light Users" (1-2 times per week):
- With a filter system: You can relax a bit. Weekly testing is plenty. You might be able to stretch your filter cleaning to every 6 weeks and your water changes to every 3 months. But I'd still recommend testing the water before each use just to be safe.
- Without a filter system: The "clean after every use" rule still applies, no exceptions. The biggest risk here is long-term storage. If you know you won't use it for a while, make absolutely sure it's clean and dry to prevent mold and mildew from taking hold.
A Quick Word on Tub Materials
This was another rookie mistake I made. I assumed you could clean all tubs the same way. Wrong. Different materials need different care.

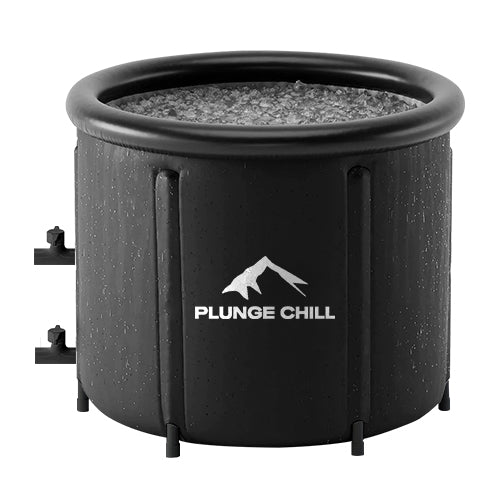
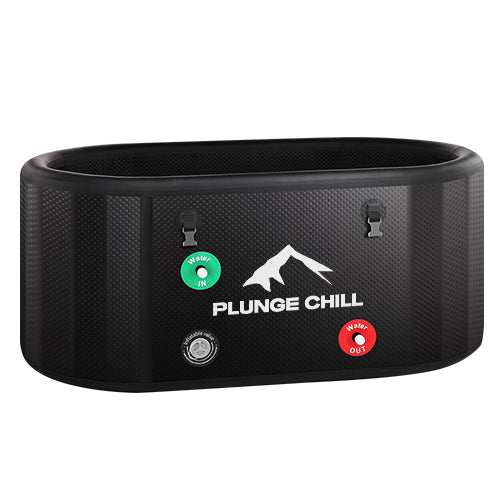
- PVC/Nylon Inflatable (like my current Plunge Chill): I love this material. It's affordable, lightweight, easy to move, folds up for storage, and has fantastic insulation. The key is gentle care. Use only soft sponges and mild cleaners. Also, it must be completely dry before you store it.
- Stainless Steel: The pro is that you can use stronger cleaners without much worry. The con is that you need to be vigilant about your water's pH balance, as highly acidic or alkaline water can cause corrosion over time.
- Acrylic: This is a very common material. The smooth surface is a breeze to wipe down, but it's prone to scratching. Abrasive cleaners or scrub pads are a huge no-no.
- Wood: These tubs are beautiful and have a certain ceremonial feel, but they are the most high-maintenance. They require regular re-sealing with special oils, need dedicated wood cleaners, and are susceptible to mold and rot if not cared for meticulously.
Filtration: Your Unsung Hero
Why am I so obsessed with recommending a 1-micron filter cartridge?
After using both a standard (usually 20-micron) and a 1-micron filter, the difference was night and day. A 1-micron filter is fine enough to capture the stuff that really makes water feel gross:
- Body oils and sweat
- Dead skin cells
- Residue from deodorant or cosmetics
- All sorts of other microscopic gunk
The water doesn't just look cleaner; it feels cleaner. That slightly "sticky" sensation you can get with less effective filtration? Completely gone.
My Filter Replacement Schedule (Based on a 1-Micron Filter):

- Daily use: 1.5-2 months (this is my cadence)
- Every other day: 2-2.5 months
- 2-3 times per week: 2.5-3 months
- Occasional use: 3-4 months
What happens if you push it too long? I've been there.
First, your water flow drops, and your chiller struggles to cool the water. Then, your water quality tanks almost overnight. Your electricity bill will noticeably jump because the pump is working overtime against the clog. The worst-case scenario? You burn out your pump, leading to a major repair bill.
From an environmental standpoint, replacing a small filter cartridge regularly is far better than dumping hundreds of gallons of water every few weeks.
Let's Talk Chemicals: My No-Nonsense Guide
Sanitizer Showdown
- Chlorine (My Workhorse): It's cheap, it's brutally effective, and it's easy to find. My target is 1−3 ppm, and I usually only need to add a small amount once or twice a week. Yes, there's a slight odor, but you get used to it, and it's a small price to pay for perfectly sanitized water.
- Hydrogen Peroxide (My "Guest Mode" Sanitizer): When I have friends or family coming over who might be sensitive to chlorine, I switch to peroxide. It's completely odorless and breaks down into just water and oxygen, so it feels very clean and eco-friendly. You need to maintain it at a higher concentration (30−50 ppm).
- Ozone System (The Ultimate Goal): This is my next planned upgrade. An ozone generator works with your filter system to oxidize contaminants, drastically reducing the need for manual chemical additions. It's a significant upfront investment, but it offers long-term peace of mind and the lowest possible maintenance.
pH Adjustment: The Art of Patience
In the beginning, I'd see my pH was low, dump in a bunch of "pH Up," and overshoot the mark, making the water too alkaline. Then I'd overcorrect with "pH Down." It was a frustrating see-saw. The secret is patience.
- Low pH (<7.2): Add a small amount of pH Increaser. Let the system circulate for a few hours, then test again. Repeat if necessary.
- High pH (>7.6): Add a small amount of pH Decreaser. Wait, and re-test. The key is to make small adjustments and give the water time to balance out.
My Single Biggest Breakthrough: The Consistency Principle
After all the trials, I can tell you this with 100% certainty: Regular, small acts of maintenance are infinitely more effective than occasional, heroic deep-cleaning sessions.
My old, flawed approach was a cycle of chaos:
- Bursts of motivation where I'd spend an hour polishing every corner.
- Followed by two weeks of complete laziness where I'd ignore it.
- Resulting in a "crisis clean" when the water got murky.
My new, effective approach is a calm, predictable rhythm:
- Daily: 2-minute habits (rinse, cover, skim).
- Weekly: 15-minute check-up (test, adjust, rinse basket).
- Monthly: 30-minute deep maintenance (filter clean).
The result? My water quality is incredibly stable, the equipment runs smoothly, and I spend far less time and energy overall.
When Things Go Wrong: My Panic Button Guide
If Water Suddenly Turns Cloudy:
This has happened to me a few times. Don't panic.
- Check your filter first. 90% of the time, it's clogged. Give it a deep clean or replace it.
- Test your sanitizer level. It might have gotten depleted. Add a "shock" dose (a larger-than-usual amount).
- Check your pH. If it's way out of whack, your sanitizer can't work. Adjust it.
If A Strange Odor Appears:
- Immediately shock the water with a double dose of your sanitizer.
- Let the filtration system run continuously for 24 hours.
- If the smell persists, don't fight it. Drain the tub, give it a good scrub, and start over with fresh water.
If The Equipment Gets Noisy:
- Check for a clogged filter. This is the most common cause.
- Make sure the water level isn't too low, causing the pump to suck in air.
- Check the water intake for any blockages like leaves or hair.
Build Your Perfect Plunge System Now
Look, maintaining a cold plunge does ask for a little bit of your time and energy. But once you build a system and it becomes a habit, it's truly effortless. More importantly, that little bit of effort pays you back every single day.
Now, whenever I slide into that crystal-clear, perfectly chilled water and feel that instantaneous jolt to my system, I send a little thank you to my past self who took 15 minutes on a Sunday to keep it that way.
Remember this one thing: the best maintenance strategy is the one you can actually stick with. Start simple. Build the habits. Your cold plunge will reward you with a longer life, lower running costs, and the consistently perfect experience you deserve.
Now go build your own system. Start with that first test. You've got this.